

Much like many other cities in Idaho, Twin Falls has a mixed climate with freezing winters and dry summers. If your windows are more than 20 years old and not energy efficient, it is time to consider replacement. Similarly, when designing a new home, it makes sense to choose Energy Star-rated windows, which may cost more at first but are worth the investment. You have to choose a popular glass installation service in Twin Falls, such as Nu-vu. The Nu-vu team can guide with each stage of the project, and as they do both commercial and residential work, technicians can offer insights on modern frames and materials. In this guide, we will discuss the steps involved in the residential glass installation process.
Pre-Installation Assessment and Consultation
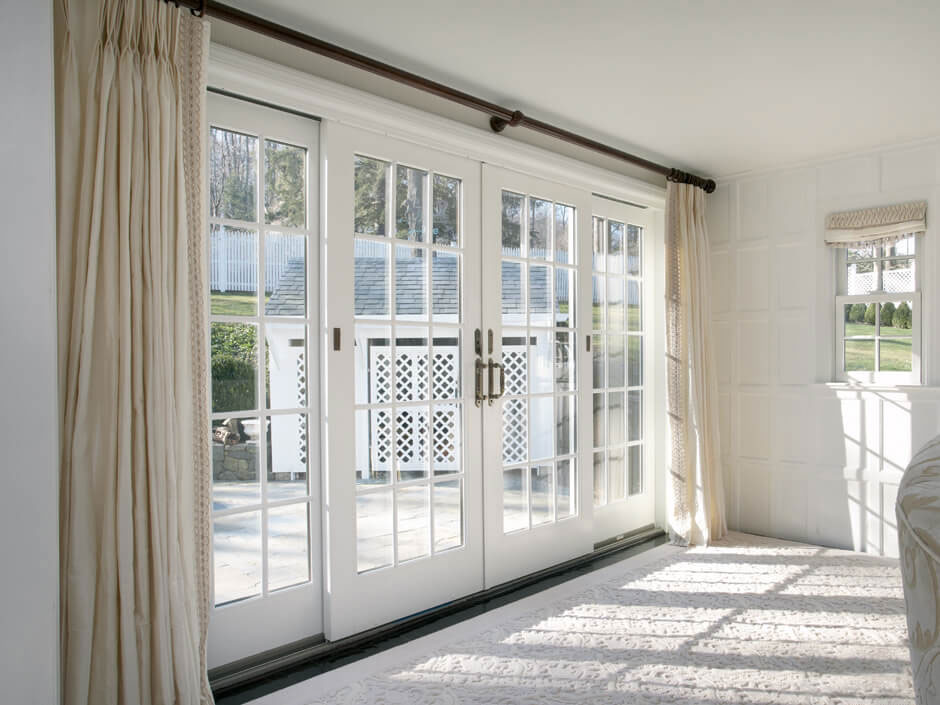
Whether you have noticed visible damage or want new windows, technicians will first inspect the property. They will check if the frames can be repaired or need replacement. They will also take measurements and share frame options, such as conventional wood and modern vinyl. Glass installation experts will also recommend the best types, taking into account Twin Falls’ weather patterns. You can choose between options like double-glazing, triple-glazing, Low-E coatings, and laminated safety glass for different parts of the house.
Selecting the Right Glass
We just mentioned different glass options. The choice should focus on function, aesthetics, and budget. If you want to save utility bills, especially extended heating during winter, consider energy-efficient, double-glazed units. For west and south-facing windows that get peak summer sunlight, Low-E glass is always better to keep homes cooler. Tempered or laminated glass is best reserved for staircases and high-traffic areas of the house. For entryways and bathrooms, you can choose toughened but decorative glass. Expect the technicians to share samples during the first or second meeting.
Measuring and Ordering Custom Glass
If the material is decided, technicians will take measurements, often repeating steps to prevent issues with alignment and gaps. Next, they will order materials from selected suppliers, for which they will also refer to building codes. Expect the team to create a complete timeline, and while that is usually final, you can expect tweaks during fall and spring when the demand is higher.
Preparing the Installation Site
The next step is to ensure the site is ready for the actual work, for which the team will remove window frames and glass where needed. They will also check if there is additional damage due to various factors, like rot, mold, or pest infestations. You may also have to remove some of your existing furniture and belongings.
Installing Glass
Technicians will next work on the the frame, which includes leveling and sealing. The next step is to set the glass and ensure all aspects are addressed to ensure thermal efficiency. They will use airtight seals using high-quality weatherproof caulking.
Securing and Finishing
In some cases, installers may add trim or casing for that refined look to match the home’s design. Interior sealants are also used to prevent moisture, especially during winter. The final step is to remove construction debris from the site.
Post-Installation Inspection
Most professional services send their team to check the site again after a few days, to find possible issues, such as gaps, misalignments, and uneven seals. Technicians will also check the function, which includes reviewing whether windows open and close smoothly.
Takeaways
As you may have guessed, a lot goes into glass installation, and this is not some random DIY project that will be easy to manage. Take your time and select a glass installation service in Twin Falls with positive reviews and good ratings. Don’t shy away from discussing questions about the work and estimates.


