
Upgrading baseboards and window casings is one of the most effective ways to give any room an immediate, polished lift. While paint colors and furniture trends evolve, clean architectural millwork grounds a room and defines its proportions. Executing this project successfully comes down to tight miter joints, accurate measurements, and securing every piece cleanly to the structural framing behind your drywall.
Whether you are replacing thin contractor-grade moldings with taller modern profiles or adding classic craftsman trim, a methodical approach ensures professional results without unnecessary frustration.
Preparing Your Walls and Materials
Before making your first cut, prepare the workspace and inspect the existing surfaces. Older homes rarely feature perfectly straight walls or square corners, so planning around slight imperfections is essential.
Start by carefully removing old baseboards using a putty knife and pry bar to avoid gouging the plaster or drywall. Once removed, scrape away residual caulk and vacuum the base of the wall thoroughly.
Acclimate your new timber or MDF trim inside the house for at least 48 hours before installation. Wood naturally reacts to temperature and indoor humidity shifts. Letting the boards settle prevents shrinkage gaps from opening up at your joint intersections after everything is installed.
Securing Moldings with the Right Fasteners
When anchoring baseboards, window aprons, or heavy timber cleats into place, relying on drywall anchors or small finish nails often leads to loose trim over time. Wall studs provide the solid backing needed to draw boards tight against the wall plane, but the choice of hardware dictates how well the joint holds over time.
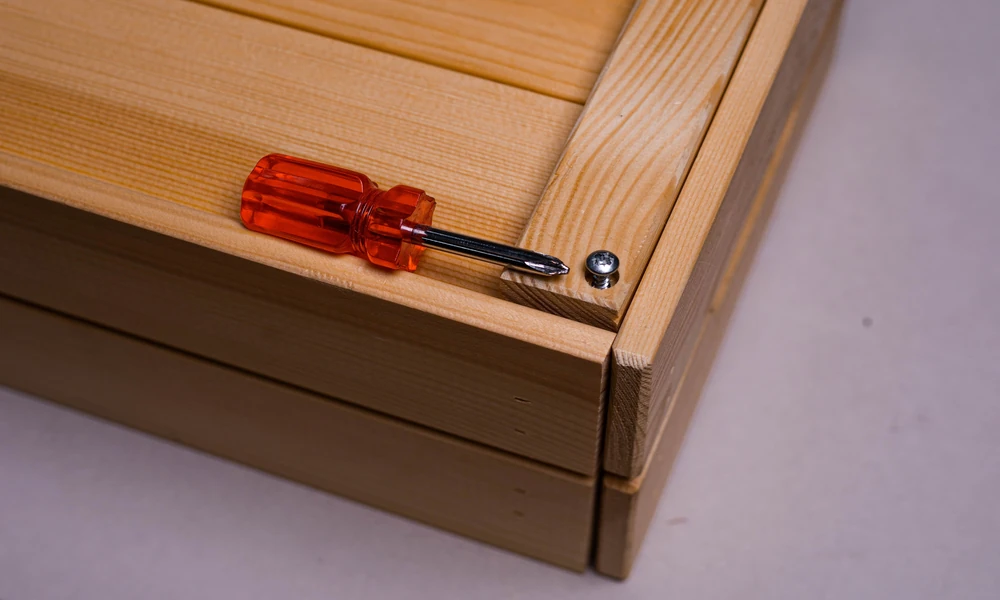
For thick wooden profiles, structural framing, or stubborn wall bows, choosing specialized wood screws provides a far stronger pull than standard pneumatic nails. Fasteners equipped with coarse, aggressive threads grip solid timber framing effectively without slipping, while self-countersinking heads sit flush with the wood surface.
Pre-drilling fine pilot holes in dense hardwoods prevents the grain from splitting near board ends. Sinking compact trim-head screws slightly below the surface creates a clean recess that is easy to fill, sand, and paint over seamlessly.
Cutting Tight Joints and Corners
Achieving seamless corner joints requires a few reliable carpenter techniques rather than relying purely on standard 45-degree cuts.
Inside Corners: The Power of Coping
Instead of mitering inside corners, coping one piece over the other yields a far tighter fit. Cut the first board square against the corner. Miter the overlapping board at 45 degrees, then follow the visible profile line with a coping saw to back-bevel the edge. This method allows the joint to stay tight even if the wall corner sits at 88 or 92 degrees.
Outside Corners and Splicing
- Outside Corners: Cut both meeting pieces at 45 degrees, testing the fit with scrap wood first to fine-tune the angle.
- Long Wall Slices: When spanning walls longer than your trim boards, join pieces with a 45-degree scarf joint rather than a butt joint. A scarf joint conceals the seam far better under paint or stain.
To review official industry recommendations on wood moisture content, dimensional stability, and installation standards, check the technical resources at the National Wood Flooring Association, an authoritative organization for wood building standards.
Finishing Touches That Elevate the Project
At twhomeday, we know the difference between an average DIY project and a professional finish lives in the final detailing.
Fill countersunk hardware holes with wood filler or spackle, sanding completely flush once dry. Run a thin, continuous bead of paintable acrylic caulk along the top edge where the trim meets the wall, smoothing it with a damp finger. Once painted, these crisp, continuous lines frame your room with clean, lasting craftsmanship.